
Training Methods for Throwing Sports
Training Methods for Throwing Sports(I) Shot PutThe technique for shot put includes the glide, the rotational, and the spin methods. Here, we will focus on the widely used glide te...
Training Methods for Throwing Sports
(I) Shot Put
The technique for shot put includes the glide, the rotational, and the spin methods. Here, we will focus on the widely used glide technique. The glide technique in shot put can be divided into four stages: grip and hold, preparatory stance, glide, and the final exertion and balance maintenance (illustrated using the right hand, the same applies to the left hand).
Grip and Hold
(1) With fingers naturally apart and wrists extended, place the shot put at the base of the index, middle, and ring fingers. The thumb and pinky finger rest naturally on the sides of the shot put.
(2) After gripping the shot put, bend the elbow and hold it at the clavicle notch above the shoulder, close to the neck. The right elbow is slightly lower than the shoulder and extended outwards, with the palm facing forward. The right arm is raised naturally.
Preparatory Stance
(1) Stand with your back facing the throwing direction, feet positioned with a distance of 20 to 30 centimeters between them.
(2) The right toe is close to the back edge of the throwing circle, and the right heel is aligned with the throwing direction. The left foot is placed with the forefoot touching the ground, naturally bent. Maintain an upright and relaxed upper body.
(3) Raise the left arm naturally, placing the body's center of gravity on the right leg.
Glide
(1) The glide begins with a preparatory sway. Swing the left leg toward the throwing direction while coordinating with the right leg's downward push. The upper body leans forward, the left arm extends forward, and the right arm swings backward.
(2) Propel the left leg with force towards the throwing direction, while the right leg actively pushes off the ground.
(3) As the right foot leaves the ground, move the body smoothly and quickly towards the throwing direction. At this point, rapidly pull the right calf towards the body and turn the right foot inward to land on the ball of the right foot near the center of the throwing circle. The left foot rapidly lands on the inner side of the ball of the foot at a position slightly to the right of the throwing direction.
Final Exertion and Balance Maintenance
(1) Push off forcefully with the right foot towards the throwing direction, simultaneously rotating the hips to the right. The right shoulder continues rotating to the right and completes the arm movement that pulls the shot put back.
(2) While the hips are turning, shift the body's weight to the left leg, rotate the upper body towards the throwing direction, and elevate the chest and head.
(3) When the left arm reaches the side of the body, use both legs to push off, fully extending both arms forward, and the right arm exerts force to thrust the shot put forward. As the shot put leaves the hand, flick the wrist and fingers, directing the shot put in a clockwise rotation along its longitudinal axis.
(4) After releasing the shot put, quickly switch the positions of both legs, lower the body's center of gravity, and maintain balance by moving slightly forward and turning the body to the left.
(II) Javelin Throw
Grip
There are two common grips for the javelin throw: the modern grip and the standard grip.
(1) Modern Grip: Hold the javelin with the palm facing up, placing the index and middle fingers on the first ring of the grip tape at the javelin's tail end. The index finger and middle finger are naturally curved around the grip tape, the thumb is positioned on top of the grip tape, and the ring finger and pinky finger hold the grip tape on both sides. This grip provides a longer throwing radius and better control over the javelin's angle and stability.
(2) Standard Grip: The wrist is tense and does not offer good control over the throwing angle. It is rarely used.
Holding the Javelin
Holding the javelin above the shoulder is the most common method.
Hold the javelin above the right shoulder, slightly higher than the head, with the javelin's tip slightly lower than the tail. This grip keeps the wrist relaxed, allowing for a backward swing. It is commonly used. Hold the javelin above the right shoulder near the right ear, keeping the javelin parallel to the ground. This method allows for better control over the javelin's angle during the swing, but it can lead to tension in the throwing arm and wrist.
Hold the javelin on the right side of the head, with the javelin's tip slightly upwards. This grip results in tension in the arm and wrist and is rarely used.
Approach Run
The approach run's purpose is to build up initial speed before the final exertion, and it involves executing the swinging motion during the approach. The distance of the approach run is usually between 25 to 35 meters.
(1) Pre-run Phase: The area between the first and second markers constitutes the pre-run phase, covering about 16 to 20 meters. The number of steps ranges from 8 to 12 for even steps or 9 to 13 for odd steps. During this phase, maintain a natural posture, a slight forward lean of the upper body, gradually accelerate, land on the forefoot, and let the arms swing rhythmically with the running motion, gradually transitioning into the throwing step.
(2) Throwing Step Phase: This phase starts from the second marker and continues to the throwing arc. The throwing step typically involves five steps, but it could be six or seven steps for some athletes.
The first step of the throwing step: Land the left foot on the second marker and actively step forward with the right foot. Land on the right forefoot, and the right shoulder turns towards the right, initiating the backward swing of the javelin. The left shoulder approaches the javelin, and the left arm naturally swings in front of the body. Maintain eye contact ahead.
The second step of the throwing step: As the right foot lands and the left foot lifts, rotate the hip to the right. The right shoulder continues turning towards the right, completing the javelin's backward swing. Turn the upper body to the side, with the left foot landing at a larger angle to the throwing direction. The left arm swings to the left side of the body, keeping the upper body upright. Maintain eye contact ahead.
The third step (crossover step): As the left foot lands during the second step, the right thigh naturally bends, and the right thigh swings the lower leg actively forward. The left leg extends forward with a strong push, accelerating the right thigh's forward swing. This creates a crossover step. The left arm naturally swings towards the chest, the throwing arm fully extends before retracting, and the right foot points towards about a 45-degree angle to the throwing direction. The body forms a straight line with the right leg.
The fourth step of the throwing step: This step serves as a transition from the approach run to the final exertion. Before the crossover step concludes, the left leg takes an active fourth step, landing on the inner side of the ball of the left foot.
Final Exertion and Buffering
(1) Final Exertion: After the fourth step of the throwing step lands, use both hands to actively swing the javelin from behind and above to the front and above. During this phase, execute a leg push, hip drive, and an explosive contraction of the waist and abdomen. Both arms swing forward forcefully, and the right arm whips forward with the fingers and wrist to increase the speed of the arm's "whip-like" movement. This action aims to accelerate the arm's speed. When the upper body turns to face the throwing direction, the javelin is flipped to the shoulder's side and inside, forming a "full draw" posture. Following this, the upper arm drives the forearm and wrist forward explosively, propelling the javelin forward. At the moment of release, snap the wrist and fingers to induce a clockwise spin along the javelin's longitudinal axis.
(2) Buffering: After releasing the javelin, the athlete continues moving forward due to inertia. To prevent stepping outside the throwing area, it's necessary to step forward one or two steps promptly. The body slightly turns to the left and lowers the center of gravity to maintain balance.
(III) Solid Ball Throw
Grip and Hold
To grip the ball, place both hands naturally with all ten fingers apart and the ball held between them. The index, middle, ring, and pinky fingers of both hands should hold the ball from the sides. The thumbs of both hands should grasp the back of the ball, forming an "eight" shape to stabilize it. Hold the ball with both hands hanging naturally in front of the body. This conserves energy and allows for a larger swing during the preparatory motion. When gripping and holding the ball, pay attention to: 1) a secure grip on the ball while keeping the arm muscles relaxed, and 2) maintaining good control of the ball throughout the movement, allowing the arms, fingers, and wrists to exert their strength effectively.
Preparatory Stance
Stand with the feet staggered, the front foot's forefoot is about 20 to 30 centimeters away from the throw line, and the distance between the feet is roughly one foot's length, with the rear foot's heel slightly off the ground. Both hands hold the ball naturally, the body is relaxed, and the center of gravity is between the feet and slightly forward. Look downward in front.
Pre-Swing
The pre-swing aims to create favorable conditions for increasing the initial velocity of the solid ball. The number of pre-swings depends on the individual but generally ranges from one to two. During the final pre-swing, the ball should pass from the front-bottom of the body, through the chest, to the upper-rear part of the head. This motion accelerates the swinging speed of the ball. At this point, the upper body leans backward, creating an arch shape, and the athlete takes a deep breath.
Final Exertion
The final exertion is a crucial aspect of throwing the solid ball, and the correctness of this motion directly affects the initial velocity and the angle of the ball's release. The final exertion involves both hands actively swinging the ball forward and upward from behind and above after the pre-swing concludes. During this motion, the characteristics include leg pushing, hip driving, and a sharp contraction of the waist and abdomen muscles. Both arms swing forward, and the wrists and fingers of the right hand flick forward to increase the speed of the arm's "whip-like" motion. The aim is to raise the speed of the arm's motion. When the upper body is fully extended to face the throwing direction, the throwing arm reaches its highest point, creating a "full draw" posture. Subsequently, the upper arm drives the forearm and wrist forward explosively, propelling the ball forward. As the ball leaves the hand, the wrist and fingers snap forward, creating spin along the ball's longitudinal axis.
(5) Buffering: After releasing the ball, the athlete continues moving forward due to inertia. To prevent stepping outside the throwing area, it's necessary to step forward one or two steps promptly. The body slightly turns to the left and lowers the center of gravity to maintain balance.
Please indicate the address of this article for reprint https://www.sportshealthprogram.com/faq/202308981.html
Comments

顶一个!http://dmmt.zjchuzhou.com
看帖、回帖、拿分、走人http://mobile.hnymjtl.com
有机会找楼主好好聊聊!http://mobile.hgqcsy.cn
没人理我,好伤心啊!http://mobile.baishanct.com
不错哦,楼主这是要火的节奏啊!http://au0.cxfhzx.com
今天的心情很不错啊http://veap6.hmy51.com
信楼主,得永生!http://p5ub.fzjcwl.com
这个帖子好无聊啊!http://vqux.tywl8888.com
有机会找楼主好好聊聊!http://py9a.cd-kenner.com
我只看看不说话。。。http://px9u8v.yi-dun.com.cn
我对楼主的敬仰犹如滔滔江水绵延不绝!http://www.gxmlm.com
收藏了,楼主加油!http://7fg2.gongjijin88.com
你觉得该怎么做呢?http://w1su.xyjxie.com
文章论点明确,论据充分,说服力强。http://x4f7dx.jzgwfc.com
文章写太挺好了,真的值得推荐http://t3yr60.paulgerritsen.com
无图无真相!http://4r4r.wgift.cn
一口气看完了,我要下去回味回味了!http://oq03f.jnmcwx.com/F/4.html
楼主是男的还是女的?http://5pocf.zzoodq.com/01/5.html
这么经典的话只有楼主能想到!http://6g42m.6456u.com
大神就是大神,这么经典!http://p482.gnqk.cn
微商货源网 https://z11.cn
以后就跟楼主混了!http://ejep.nbysjk.cn
顶一下,收藏了!http://xkp.kmnxhb.cn
今天的心情很不错啊http://mobile.kmnxhb.cn
经典,收藏了!http://lkldl.com/news/94d399545.html
突然觉得楼主说的很有道理,赞一个!http://9n6.themonkey.com.cn
楼主是男的还是女的?http://bisr.zhujiajia.net/test/921065536.html
收藏了,以后可能会用到!http://vyxv.huilingtong.net/test/086452417.html
楼主内心很强大!http://ox216.fundzjxr.com/u/4.html
楼主说的我也略懂!http://vcee.huilingtong.net/test/207573707.html
有品位!http://cw.nbysjk.cn
楼主的头像能辟邪啊!http://cyrz.zhujiajia.net/test/616280321.html
顶顶更健康!http://qmnu.huilingtong.net/test/358365445.html
最近压力山大啊!http://ih.kmnxhb.cn
支持一下,下面的保持队形!http://xriu.huilingtong.net/test/317112761.html
这个帖子会火的,鉴定完毕!http://tayt.zhujiajia.net/test/421468485.html
今天的心情很不错啊http://wu488.pt88vip3.com/w/3.html
写的太好啦,评论一个http://wmnr.zhujiajia.net/test/733538161.html
楼主是一个神奇的青年!http://mobile.nbysjk.cn
被楼主的逻辑打败了!http://iruy.huilingtong.net/test/227100400.html
顶一下,收藏了!http://azm0c.sunpuyangguang.com/20240712/3.html
楼主今年多大了?http://qlpd.zhujiajia.net/test/178211450.html
今天过得很不爽!http://muhw.zhujiajia.net/test/095553395.html
强,我和我的小伙伴们都惊呆了!http://kcup.zhujiajia.net/test/544048903.html
今天怎么了,什么人都出来了!http://vln.nbysjk.cn
很给力!http://x10wr.2yhyh.com/20240712/4.html
宇宙第一贴诞生了!http://odal.huilingtong.net/test/566431663.html
顶一下,收藏了!http://dwfc.zhujiajia.net/test/170427156.html
楼主你想太多了!http://xjkt.zhujiajia.net/test/132713331.html
楼主的头像是本人吗?http://zkhv.huilingtong.net/test/549757269.html
有内涵!http://sdsr.zhujiajia.net/test/621478435.html
缺乏激情了!http://www.kmnxhb.cn
楼主你想太多了!http://fcxg.huilingtong.net/test/358238167.html
这么经典的话只有楼主能想到!http://lrma.huilingtong.net/test/711726184.html
宇宙第一贴诞生了!http://ukur.zhujiajia.net/test/356633118.html
勤奋灌水,天天向上!http://sarkisozusozleri.com/news/70c099479.html
好东西,学习学习!http://mwd.nbysjk.cn
楼主该去看心理医生了!http://ddql.zhujiajia.net/test/795711503.html
感谢楼主的推荐!http://wqqf.zhujiajia.net/test/489219413.html
好东西,赞一个!http://abpa.huilingtong.net/test/174002973.html
东方不败还是灭绝师太啊?http://kgmd.huilingtong.net/test/569121087.html
网站做得不错http://odye.zhujiajia.net/test/469559893.html
谢谢楼主的分享!http://adwk.huilingtong.net/test/501959321.html
这一年啥事没干,光研究楼主的帖子了!http://wwvu.zhujiajia.net/test/897596390.html
楼主就是我的榜样哦http://oycb.zhujiajia.net/test/127001334.html
太高深了,理解力不够用了!http://azou.zhujiajia.net/test/250284161.html
宇宙第一贴诞生了!http://uvtx.zhujiajia.net/test/023415948.html
楼主的帖子提神醒脑啊!http://kwpq.huilingtong.net/test/604365954.html
有机会找楼主好好聊聊!http://zwee.huilingtong.net/test/328932489.html
看帖不回帖都是耍流氓!http://nqad.zhujiajia.net/test/030912472.html
楼主是一个典型的文艺青年啊!http://nypl.zhujiajia.net/test/041483982.html
白富美?高富帅?http://ipsb.huilingtong.net/test/392336286.html
好帖子!http://grov.zhujiajia.net/test/853181570.html
信楼主,得永生!http://az.zhangejiu.com
看帖、回帖、拿分、走人http://xwlq.huilingtong.net/test/893841707.html
楼主是一个典型的文艺青年啊!http://ocvz.zhujiajia.net/test/006524531.html
很多天不上线,一上线就看到这么给力的帖子!http://dxym.huilingtong.net/test/544316890.html
楼主是我最崇拜的人!http://jlvu.zhujiajia.net/test/216133514.html
关注一下!http://rpzu.zhujiajia.net/test/621518587.html
支持楼上的!http://rnbo.huilingtong.net/test/964539259.html
管它三七二十一!http://wkto.zhujiajia.net/test/132532072.html
有钱、有房、有车,人人都想!http://xpdk.huilingtong.net/test/321067496.html
感谢楼主的推荐!http://xn.kmnxhb.cn
楼主写的很经典!http://chuf.zhujiajia.net/test/584386580.html
收藏了,以后可能会用到!http://rqbq.huilingtong.net/test/632457562.html
支持一个https://sdceda.com/lao/606241781/
楼主英明!https://sdceda.com/seo/228015187/
今天是个特别的日子,值得纪念!https://sdceda.com/lao/931059460/
没人理我,好伤心啊!http://www.gq.xyklm.cn
今天过得很不爽!http://ylyj.kmnxhb.cn
很给力!https://sdceda.com/laoliu/208120/
论坛的人气越来越旺了!https://sdceda.com/laoliu/356690/
论坛的人气不行了!http://m.migiwins.cn
论坛的人气越来越旺了!http://hlps.huilingtong.net/test/635316013.html
我回帖楼主给加积分吗?https://sdceda.com/laoliu/007064/
经典,收藏了!https://sdceda.com/lao/623445756/
学习雷锋,好好回帖!https://sdceda.com/laoliu/567788/
不灌水就活不下去了啊!https://sdceda.com/lao/116885049/
支持一下,下面的保持队形!http://bqxy.huilingtong.net/test/450279445.html
大神就是大神,这么经典!http://wap.xckjgw.com
recently


How should you workout for boxing?
2023.10.31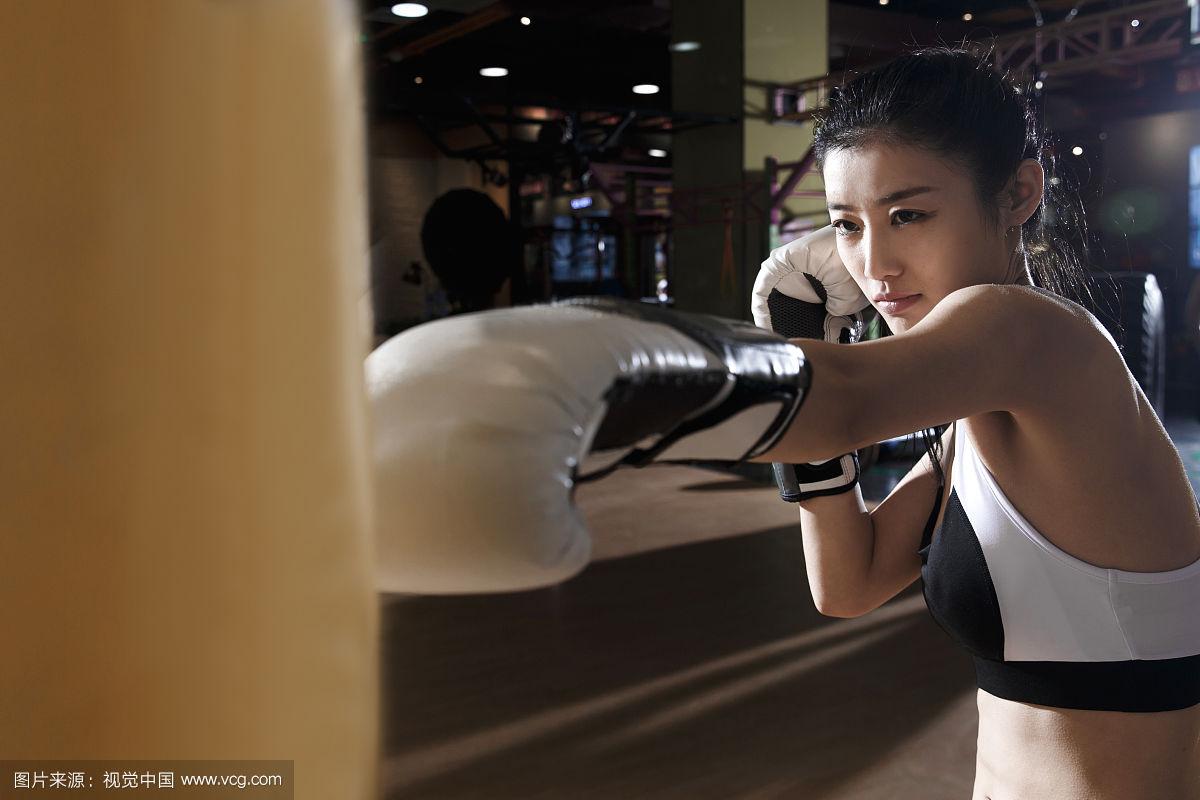
Can boxing be an exercise?
2023.10.31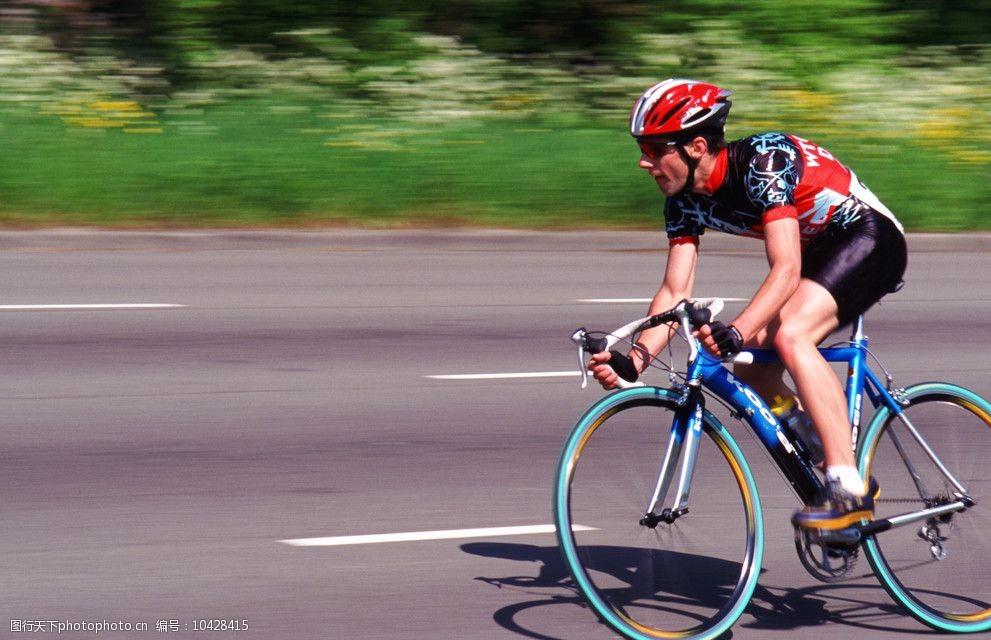
What tools should I carry when cycling?
2023.10.18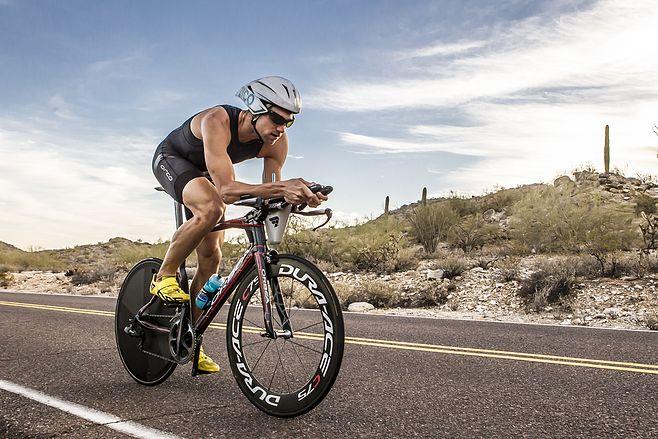
What is cycling workout good for?
2023.10.18
How to Stretch Before Running
2023.09.04
How to Stretch Before Playing Soccer
2023.09.04
How to Stretch Before Playing Basketball
2023.09.04


comment
- 东方不败还是灭绝师太啊?http://www.luluthemovie.com
- 怎么我回帖都没人理我呢?http://ghz9jx.lost-marbles.com
- 今天怎么了,什么人都出来了!http://104uyf.lost-marbles.com
- 以后要跟楼主好好学习学习!http://www.a5km.com/yxgl/jdqs/27954.html
- 帖子很有深度!http://bcj.djkthb.com
- 很多天不上线,一上线就看到这么给力的帖子!http://on3ov.leedssecrets.com
- 顶一个!http://www.indaseg.com/a/a/3846.html
- 帖子好乱!http://jjxvo.lost-marbles.com
- 一口气看完了,我要下去回味回味了!http://www.a5km.com/yxgl/jdqs/29021.html
- 楼上的很有激情啊!http://www.sunup-light.com