Fade Spots and Get Rid of Acne, Achieve Beautiful Skin
Fade Spots and Get Rid of Acne, Achieve Beautiful SkinSpots and acne often give beauty-conscious women a headache. Every time before going out, a lot of time and effort are spent d...
directory:
Fade Spots and Get Rid of Acne, Achieve Beautiful Skin
- 1 Cooling Breath
- 2 Skylark Pose
- 3 Gate Lock Pose
- 4 Upward-Facing Dog Pose
- 5 Downward-Facing Dog Pose
- 6 Vulture Pose
- 7 Cow Face Pose
Fade Spots and Get Rid of Acne, Achieve Beautiful Skin
Spots and acne often give beauty-conscious women a headache. Every time before going out, a lot of time and effort are spent dealing with these annoying "stubborn elements." To completely get rid of this embarrassing skin problem, the key lies in internal regulation. This set of yoga poses can help you eliminate toxins from your body, fade spots and acne, and easily achieve flawless skin.
1 Cooling Breath
Benefits
Purifies the blood, eliminates toxins from the body, accelerates facial metabolism, and fades facial spots and acne.
Improves lung function, relieves irritability, anger, and other negative emotions, bringing a sense of calmness.
Steps

1. Assume a seated mountain pose, with legs stretched straight forward and arms naturally hanging at the sides. Adjust your breath.
Repeat 15 times

2. Sit comfortably with legs crossed. Extend your tongue out of your mouth and curl it into a tube shape. Breathe through the curled tongue and mouth, making a "hissing" sound, then exhale slowly through the nostrils.
Tip
It is best to practice the Cooling Breath in a place with good air and a quiet environment, which helps to focus on breathing and accelerate detoxification.
2 Skylark Pose
Benefits
Expands the chest, strengthens lung function, accelerates the elimination of waste gases from the body, and fades facial spots.
Effectively exercises the chest and back muscles, prevents hunchback and other bad postures, and beautifies the body posture.
Steps

1. Assume a seated mountain pose, with the back straight and hands naturally placed at the sides. Look straight ahead.
Repeat 3 times

2. Adjust your breath. Move the right leg to the right and extend it, bend the left leg inward, and bring the left foot as close to the perineum as possible, while keeping the arms hanging at the sides.
Tip
While turning the body to the left, keep your eyes looking straight ahead, avoiding looking down.

3. Keep the leg position unchanged and slightly turn the body to the left, with the eyes looking to the left front.

4. Open both arms sideways, gradually stretch the body backward, expand the chest, and maintain the pose for 30 seconds.

5. Lower the arms and return to the normal seated position. Rest for a moment, then repeat the exercise on the other side.
3 Gate Lock Pose
Benefits
Nourishes and massages the abdominal organs, enhances the body's metabolism, and gradually eliminates facial spots.
Nourishes the nervous system of the spine, improves lower back pain and hunchback, and other bad conditions.
Steps

1. Assume a lightning bolt pose, keeping the upper body straight, hands naturally placed on the thighs, and eyes looking straight ahead.
Repeat 3 times

2. Keep the arms hanging at the sides, lift the hips off the heels, and keep the thighs and calves vertical.

3. Open the left leg to the left, extend the left foot forward, point the left toes to the left, aligning the left knee with the right knee, and raise both arms to the same height as the shoulders.

4. Bend the upper body to the left until the left hand reaches the left calf, the right hand points to the sky, and maintain the pose for 20 seconds.

5. Slowly return to the starting position, repeat the movement on the other side, and maintain the pose for 20 seconds. Then return to the normal seated position and rest.
Increasing Difficulty ↓↓
If you find this pose too easy, you can continue bending your upper body to one side during step 5, until you reach your personal limit.

4 Upward-Facing Dog Pose
Benefits
Accelerates the circulation of Qi and blood in the body, increases oxygen content in facial skin, improves skin metabolism, and fades facial spots.
Stretches the muscles of the back of the thighs, prevents leg edema, and eliminates excess fat in the legs.
Steps

1. Assume a lightning bolt pose, hands resting on the thighs, eyes looking straight ahead.
Repeat 3 times

2. Keep the posture of the hips and legs unchanged, bend the upper body forward, and place both hands on the mat in front of the body.

3. Adjust your breath, lift the hips off the mat, support the body weight with both hands and knees, and look straight ahead.

4. Keep the hands on the ground, straighten the arms, and simultaneously push the legs straight back with the back of the feet supporting the body. Lift the head, look at the ceiling, and maintain the pose for 20 seconds. Then return to the normal seated position and rest.
5 Downward-Facing Dog Pose
Benefits
Effectively stretches the neck and facial muscles, increases local metabolism, and beautifies the face.
Increases arm support strength, exercises the abdominal muscles, and beautifies body curves.
Steps

1. Assume a lightning bolt pose, hands resting on the thighs, eyes looking straight ahead.
Repeat 2 times

2. Lift the hips off the heels, raise the heels, and place the hands on the mat in front to support the body, forming a four-corner shape.

3. Take a deep breath, keep the hands and toes still, and forcefully lift the hips upwards, placing the head between the arms.

4. Lower the heels to the mat, feel the stretch in the back of the thighs and the back, and maintain the pose for 20 seconds. Then return to the normal seated position and rest.
6 Vulture Pose
Benefits
Nourishes the abdominal organs, accelerates body detoxification, thereby helping to purify the blood and beautify the face.
Exercises the legs and back muscles, helping to eliminate local excess fat and create a more graceful figure.
Steps

1. Sit in a normal seated position on the mat, with legs extended and together, hands placed at the sides, eyes looking straight ahead, and adjust your breath.
Repeat 3 times

2. Inhale, keep the left leg straight, bend the right leg backward, and try to bring the right heel as close to the right hip as possible.

3. Exhale, keep the position of the right leg unchanged, hold the left foot with both hands behind the back, and raise both arms upward, bringing the left leg upward and bent.

4. Take another deep breath, keep the back straight, raise both arms upward, and lift the left leg higher and straight, maintaining the pose for 20 seconds.

5. Slowly lower the left leg, straighten the right leg, return to the normal seated position, and rest for a moment. Then repeat the movement with the other leg.

6. Lower both legs, sit down, and gently tap the legs to relax.
Tip
Focus on stretching the legs during this pose, as this is essential to achieve the stretching effect.
7 Cow Face Pose
Benefits
Expands the chest, accelerates the elimination of waste from the body, prevents and eliminates facial spots and acne.
Stretches and exercises the arms and legs, tightens local muscle groups, making limbs more slim and slender.
Steps

1. Assume a seated mountain pose, with hands naturally hanging at the sides, adjusting your breath.
Repeat 3 times

2. Bend the left knee inward, bringing the left leg close to the mat and the left foot as close to the hip as possible. Bend the right leg backward, keeping the right foot as close to the hip as possible, with both knees in the same line.

3. Move the right leg to the left side, bringing the right foot as close to the hip as possible, with both knees in the same line.
Tip
When practicing Cow Face Pose, have an awareness of imagining that the arms are getting thinner and the chest is getting lifted.

4. Inhale, stretch the left arm upward, and keep the right arm still.

5. Then bend the left elbow, placing the left hand on the back.

6. Exhale, bend the right arm from under the right armpit to the back, bringing the hands together behind the back. Maintain the pose for 20 seconds.

7. Release both hands and legs, repeat the movements, changing the direction of the arms and legs. Maintain the pose for 20 seconds.
Lower the difficulty ↓↓
If the shoulder joints are stiff and the hands cannot be clasped behind the back, use a yoga strap to help reduce the difficulty.

Please indicate the address of this article for reprint https://www.sportshealthprogram.com/learn-yoga/202307770.html
recently
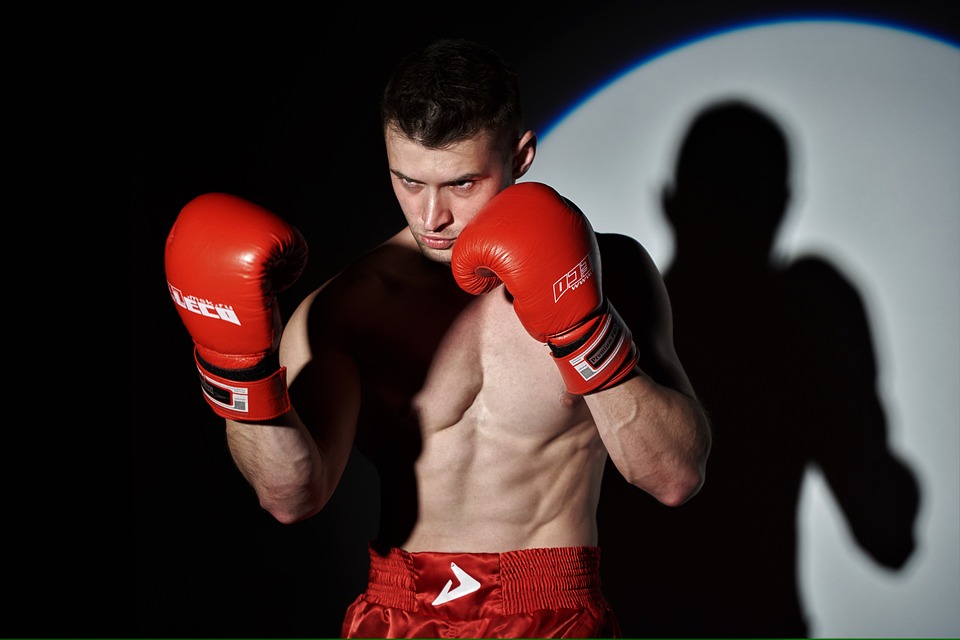
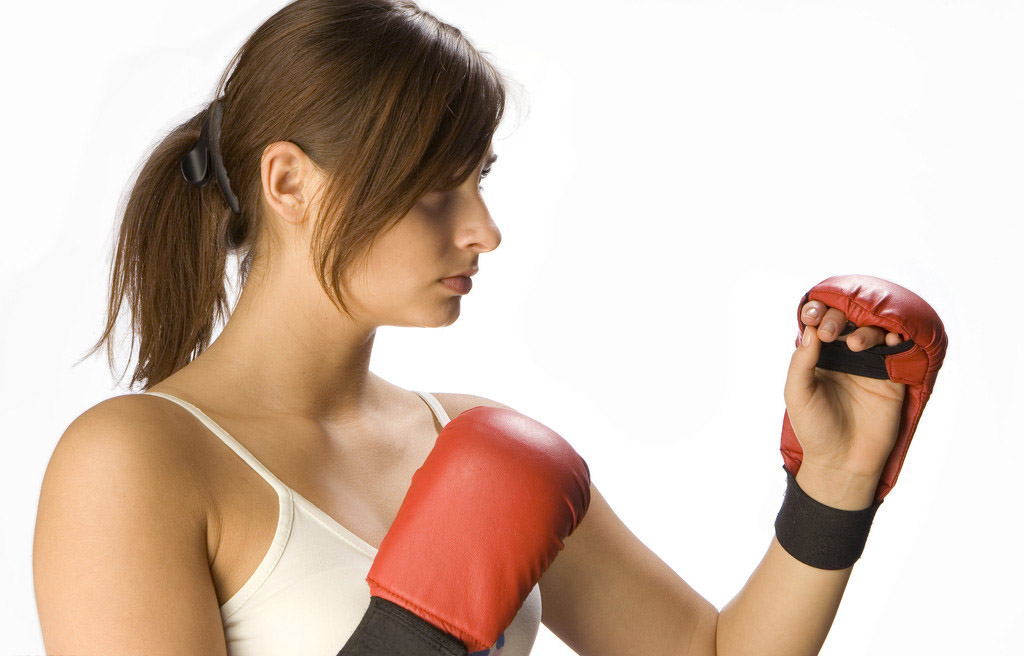
How should you workout for boxing?
2023.10.31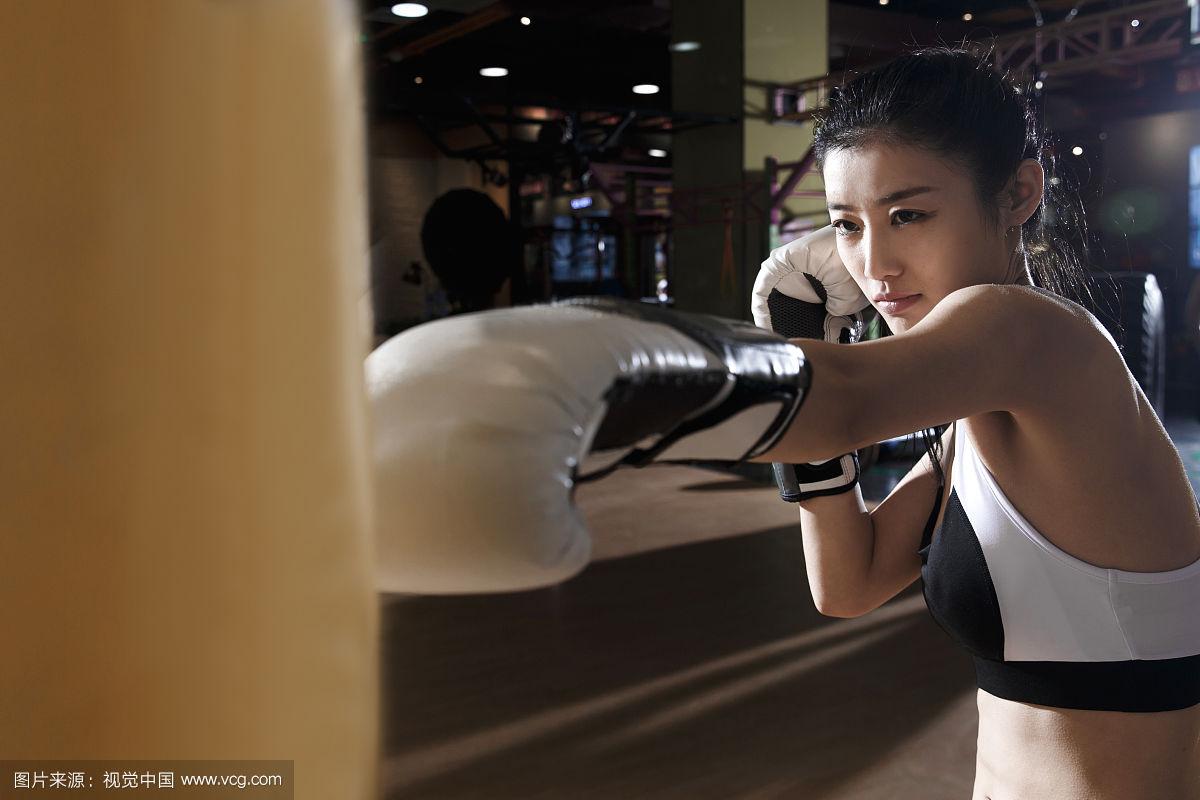
Can boxing be an exercise?
2023.10.31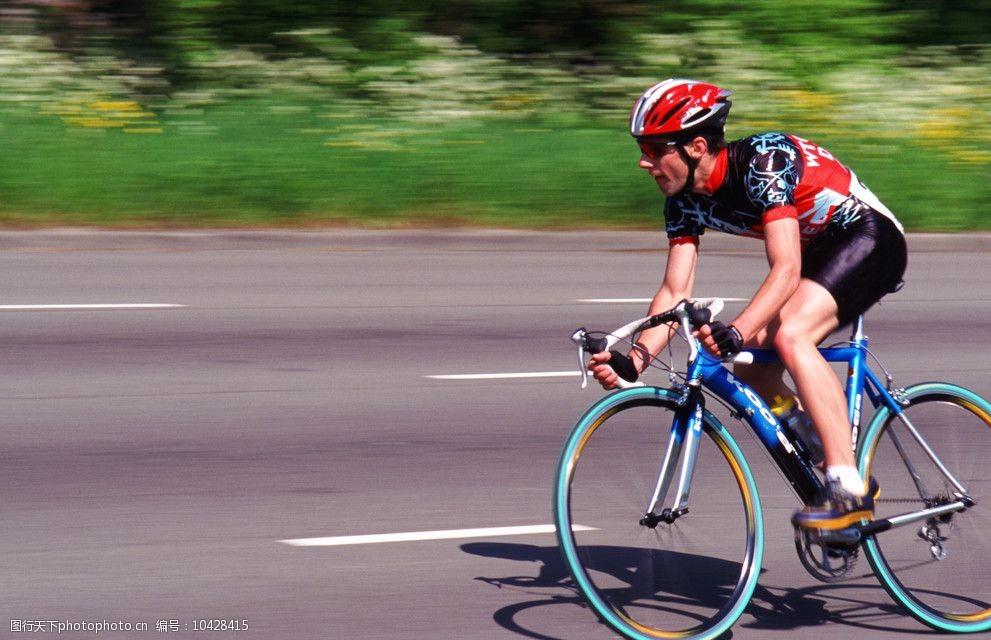
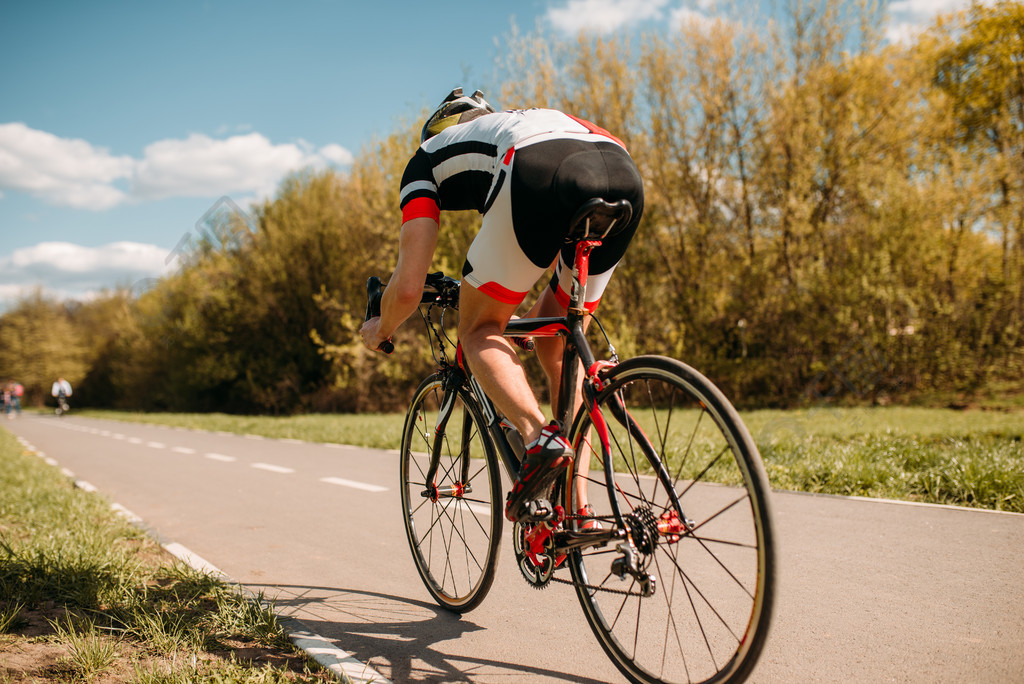
What tools should I carry when cycling?
2023.10.18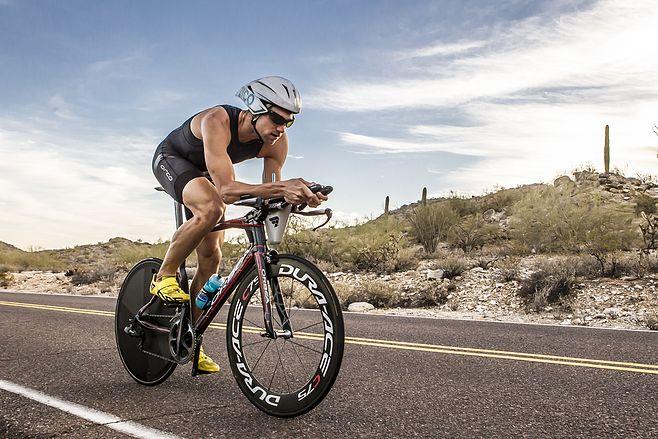
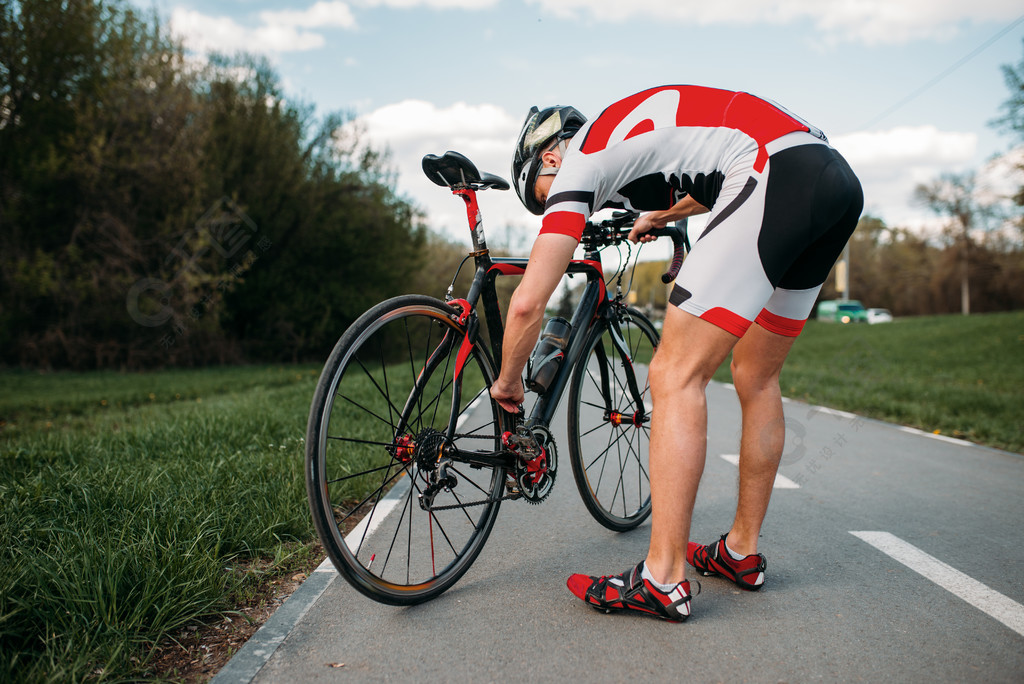
What is cycling workout good for?
2023.10.18
How to Stretch Before Running
2023.09.04
How to Stretch Before Playing Soccer
2023.09.04
How to Stretch Before Playing Basketball
2023.09.04